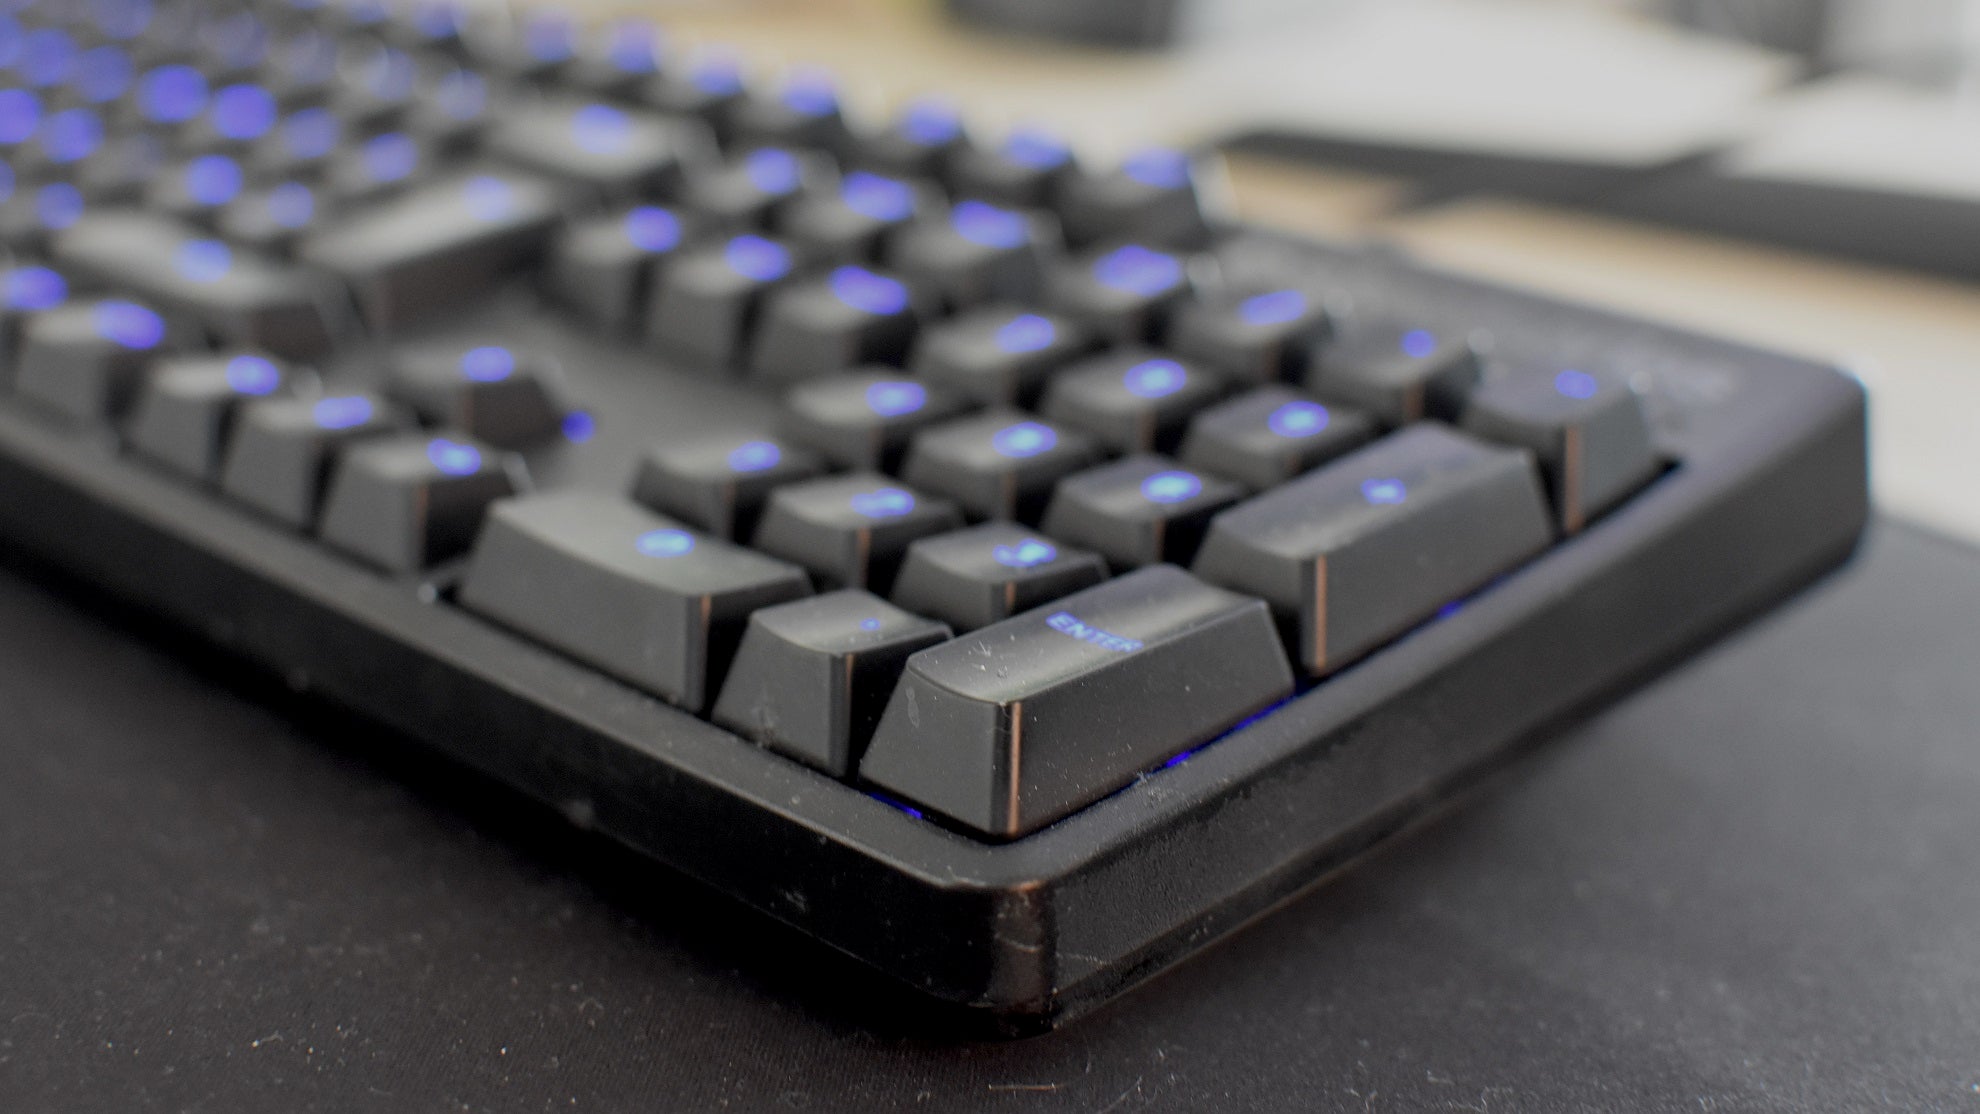
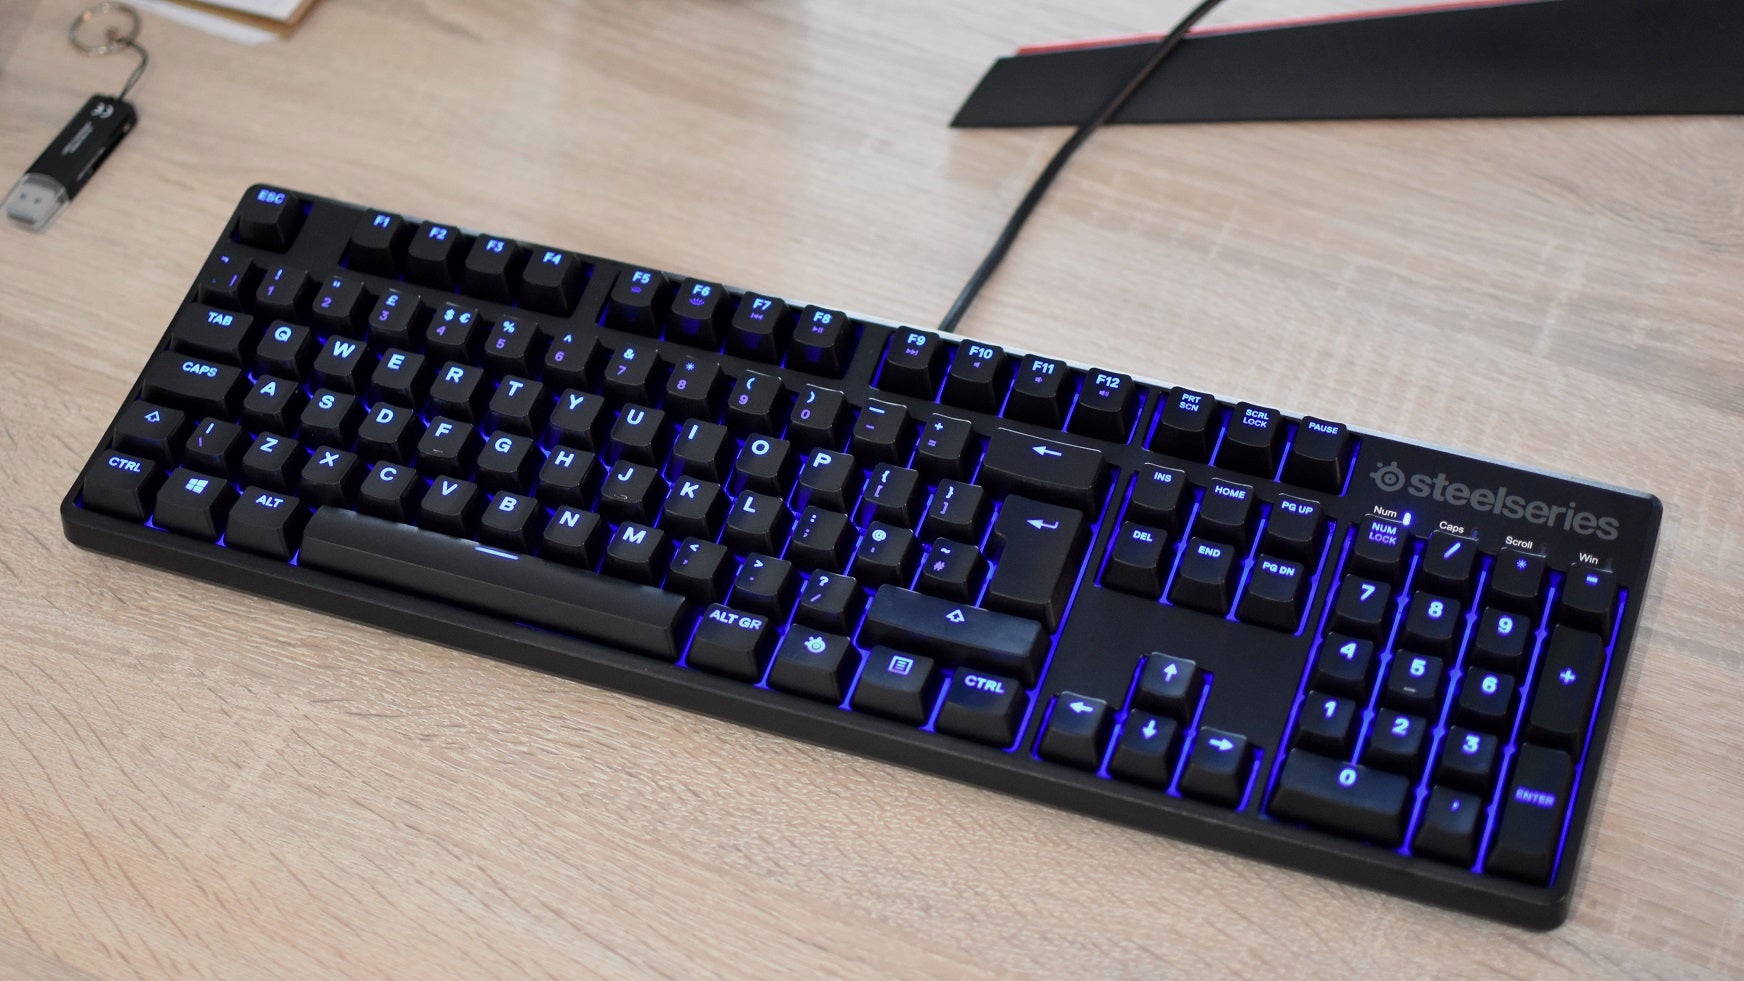
Whatever the tools, though, please do clean your keyboard now and again. If we didn’t already know they’d been designed for inputting symbols into a computer, they could quite easily be mistaken for purpose-build detritus traps. Between the tiny gaps everywhere, constant hand contact, and their natural habitat of ‘right below your mouth’, keyboards positively attract dust, skin, and crumbs. Pet hair gets in there too, in keeping with how pet hair gets bloody everywhere. As with our PC-cleaning guide, I’ll be showing you how to clean your keyboard by showing you – with all the gross pictures – how I clean mine. You will need:
One keyboard, sullied A clean, dry cloth A small brush Maaaayyyybe a can of compressed air
I say an elongated “maybe” because while compressed air can be a mild time-saver, blowing away the chunkiest remnants of desk-consumed bread and passing cats, they don’t actually clean all that deeply. Hence why I’d sooner recommend the paintbrush/toothbrush method for tidying up those tight crevices. More on that in a minute.
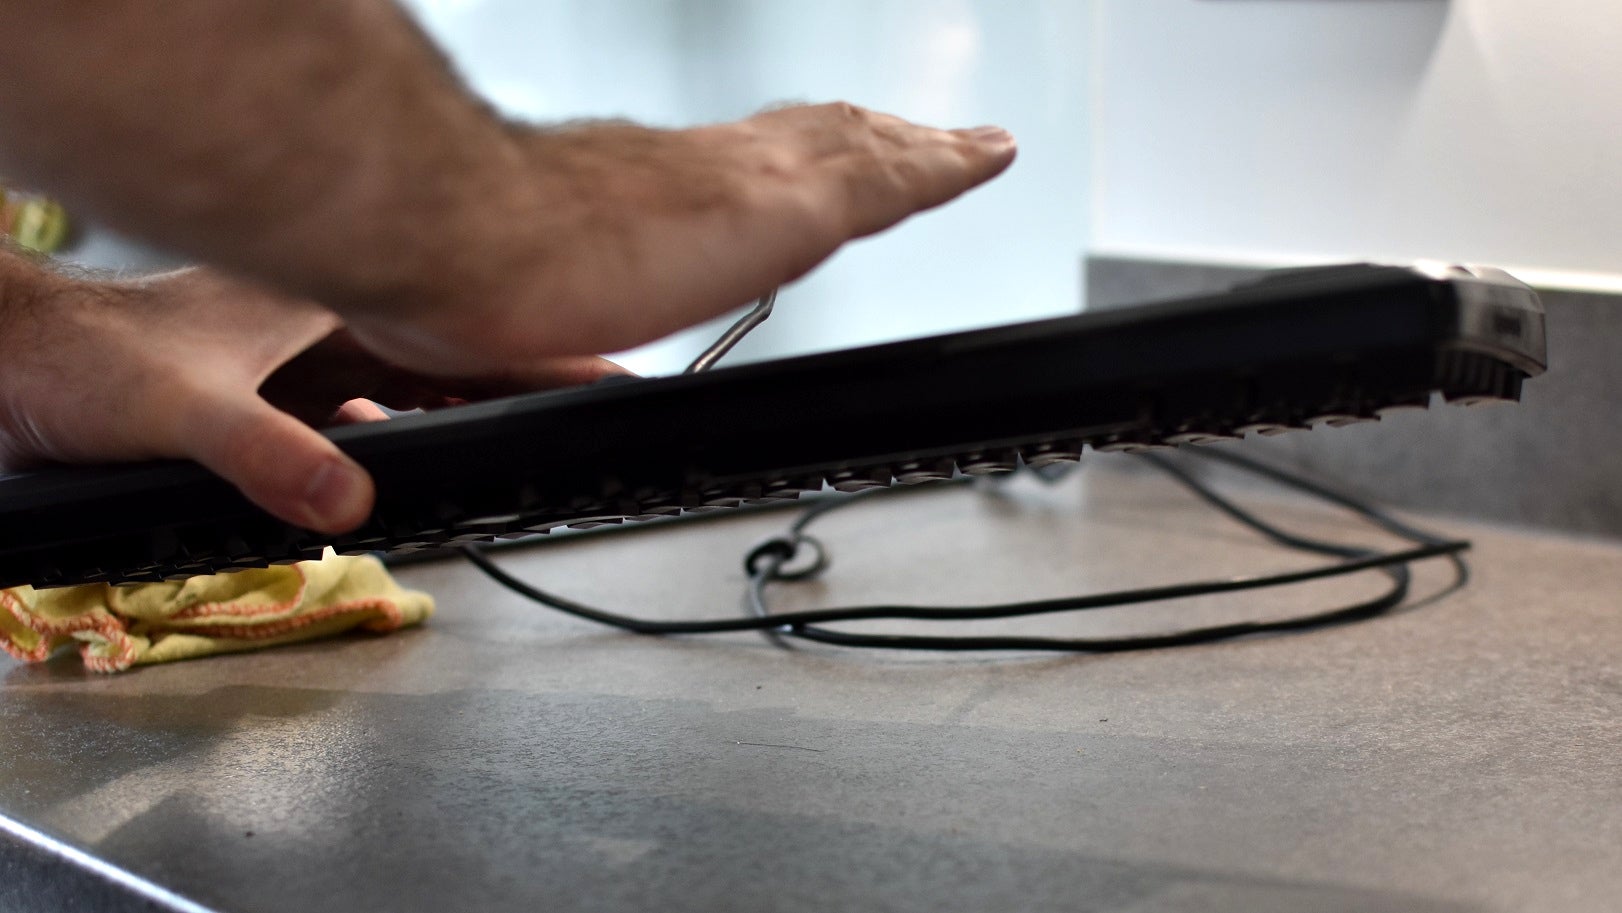
1. Turn the keyboard upside down and shake it
A simple, almost brutish first step, but this can help dislodge bits of grit without any actual cleaning. Especially on mechanical keyboards, where there’s often more space between the keycaps and the chassis for the debris to escape. Just don’t be tempted to call it a day after this stage, and definitely don’t shake the keyboard over soft surfaces that you’d then need to clean in turn, like a mouse mat. Do it over a cleared desk, kitchen counter or other work surface, then just wipe away what falls out.
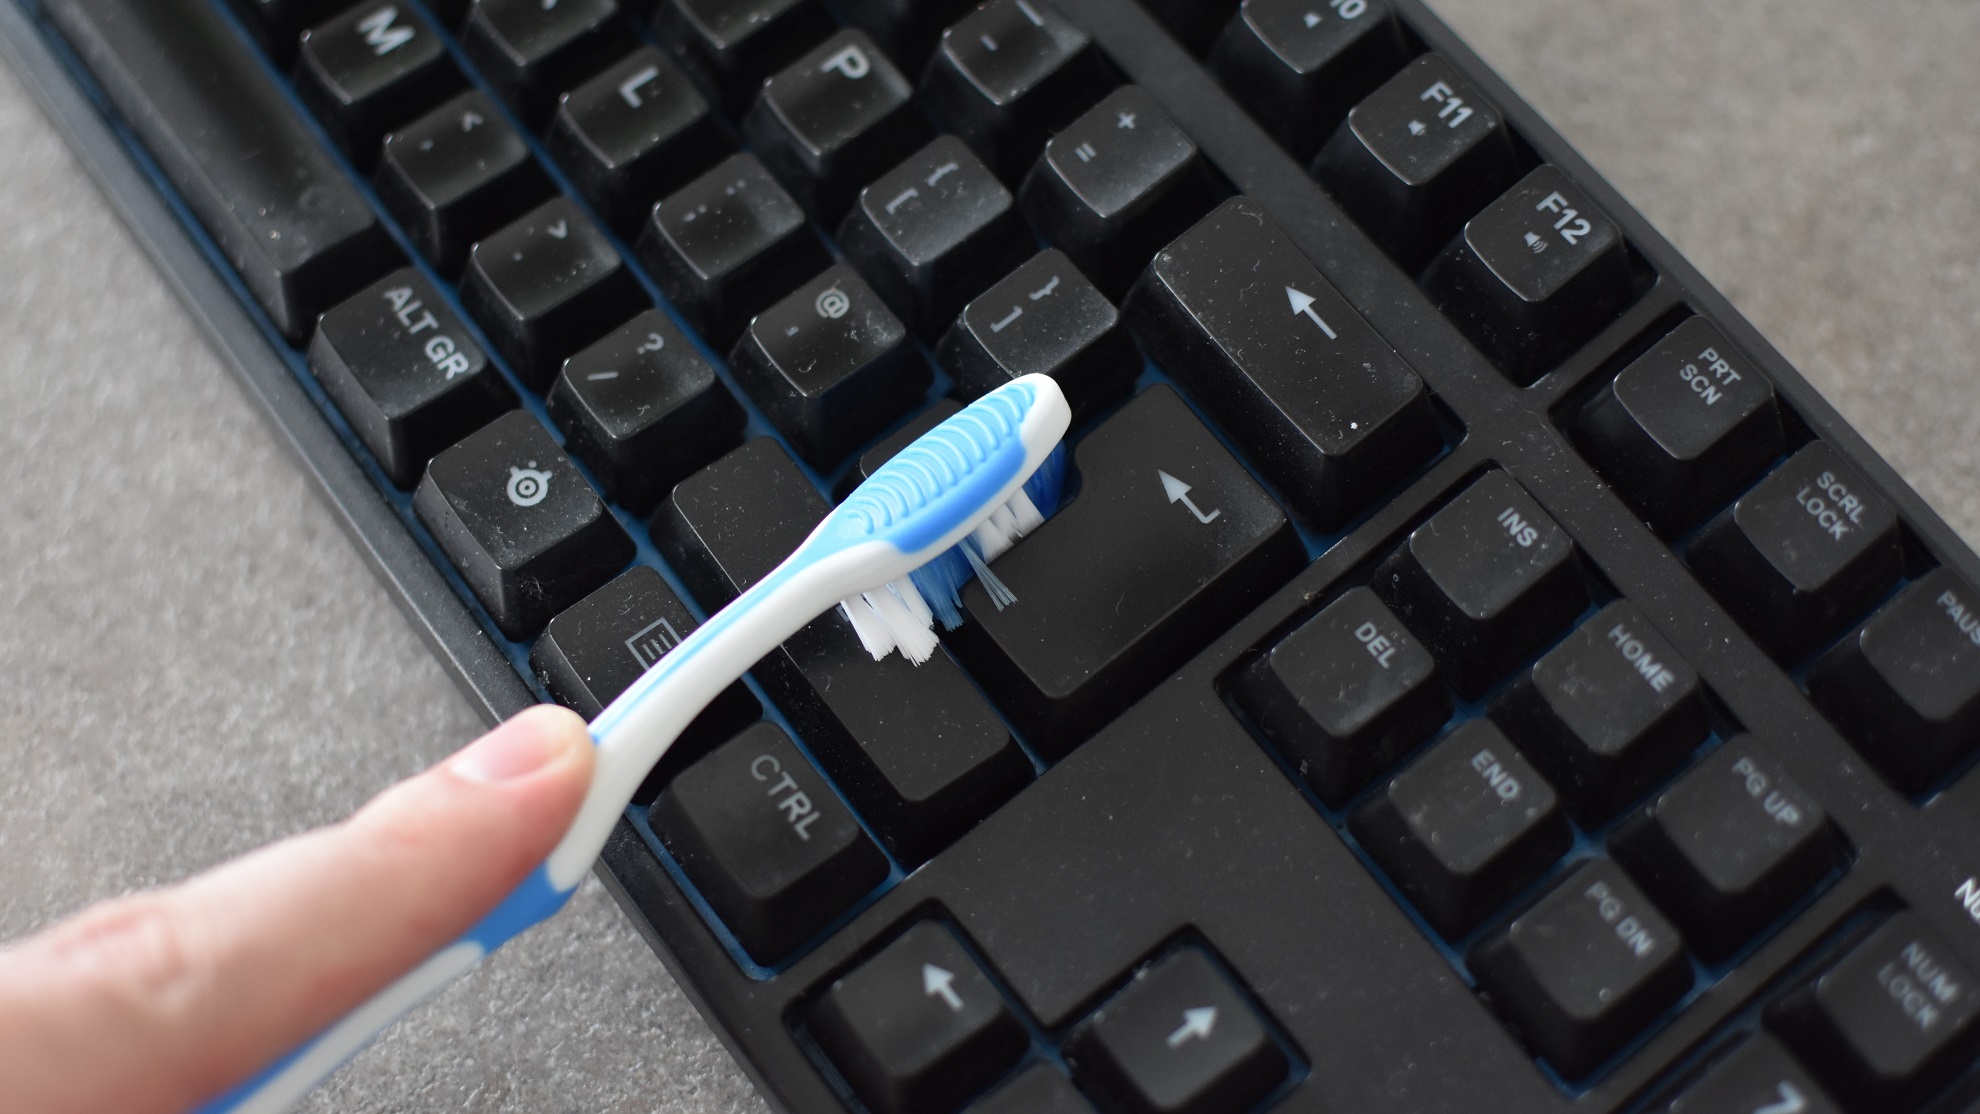
- Dust with a brush
If you can’t remove your board’s keycaps, or you simply can’t be bothered, you can try to clear away as much of the gack underneath the keys while simultaneously dusting the sides of the keycaps themselves. You can get specifically-branded keyboard brushes for this, as well as that radioaCtive-looking goo that seeps between the cracks and peels off, but I’m not convinced by these when you can do a perfectly job with a common toothbrush or a paintbrush. Just rub this between each key, getting in nice and deep, and you can shift pretty much all visible dust. You should be able to pick up a fair bit of the lurking dirt underneath, as well.
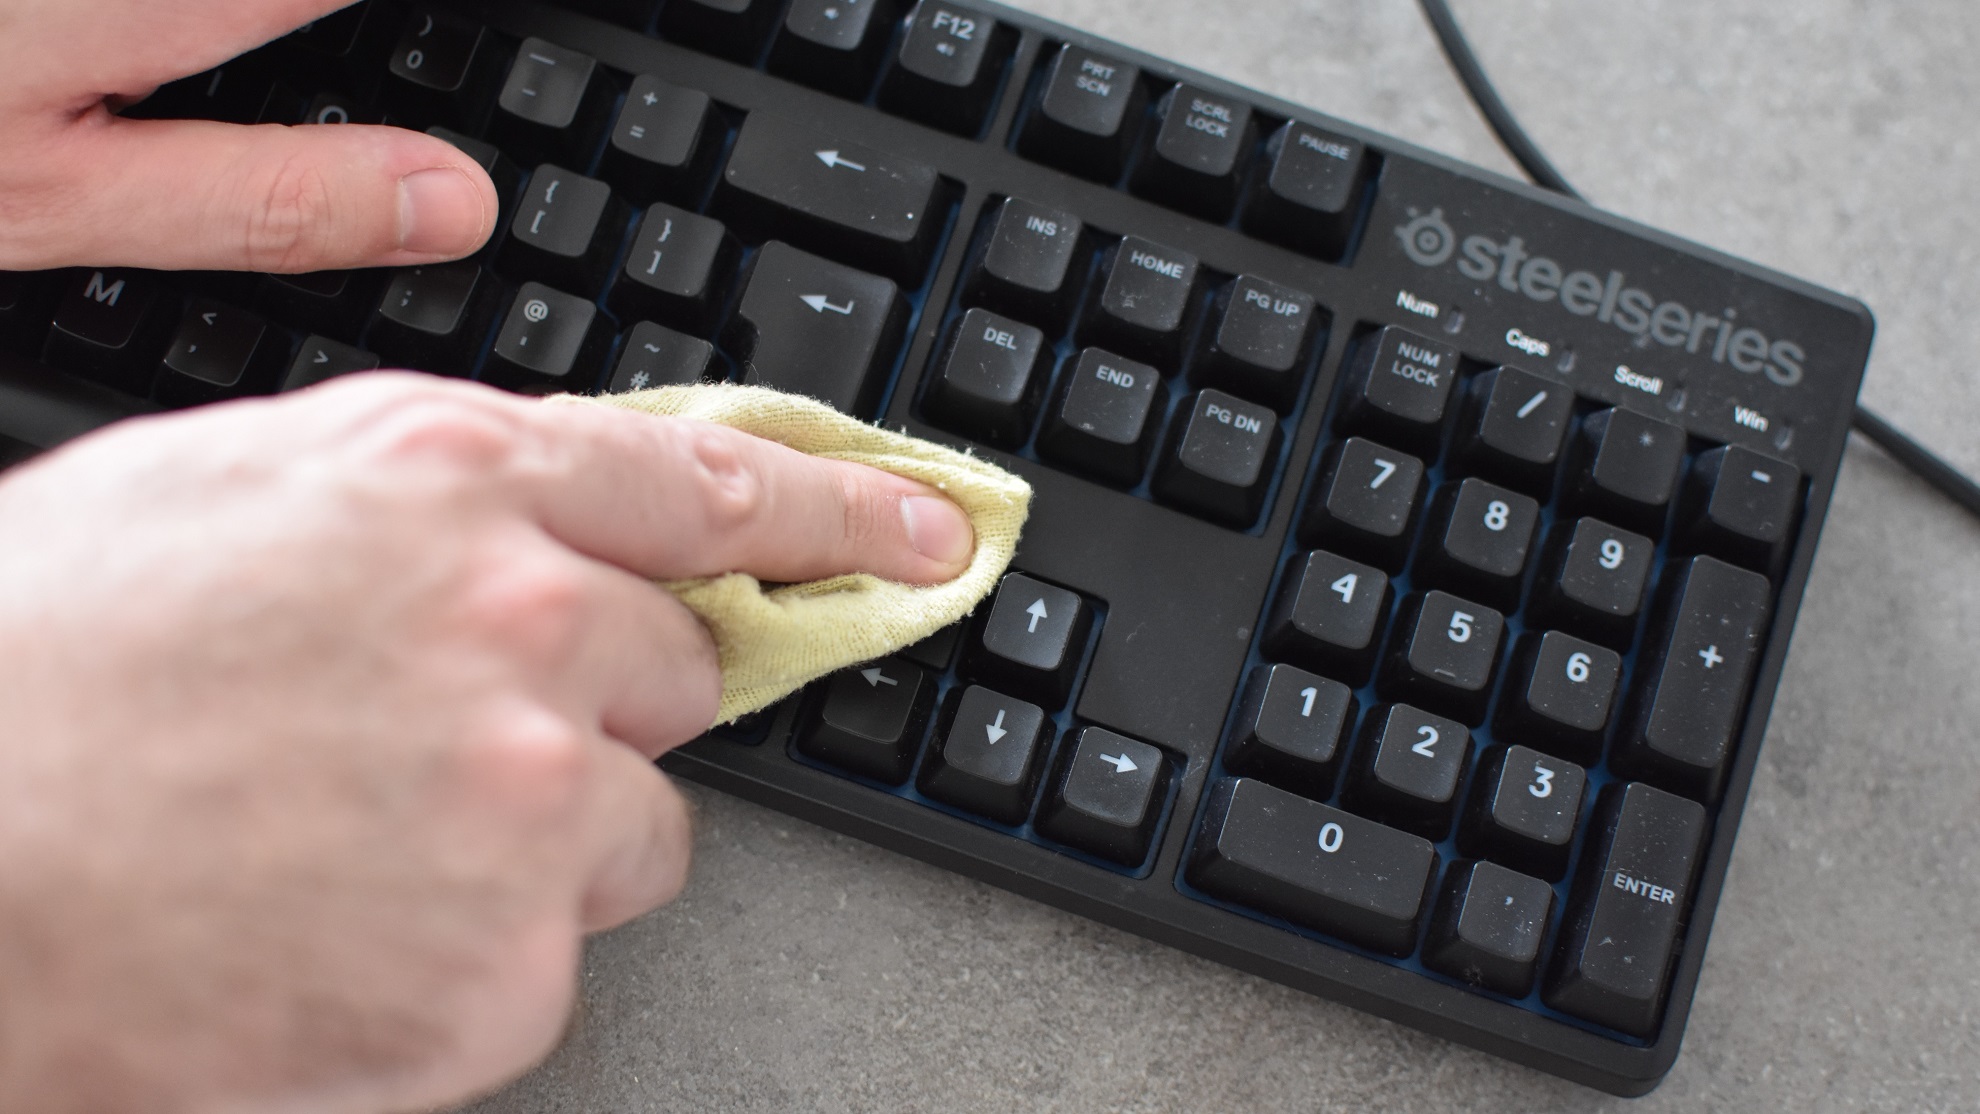
- Get scrubbing with a cloth
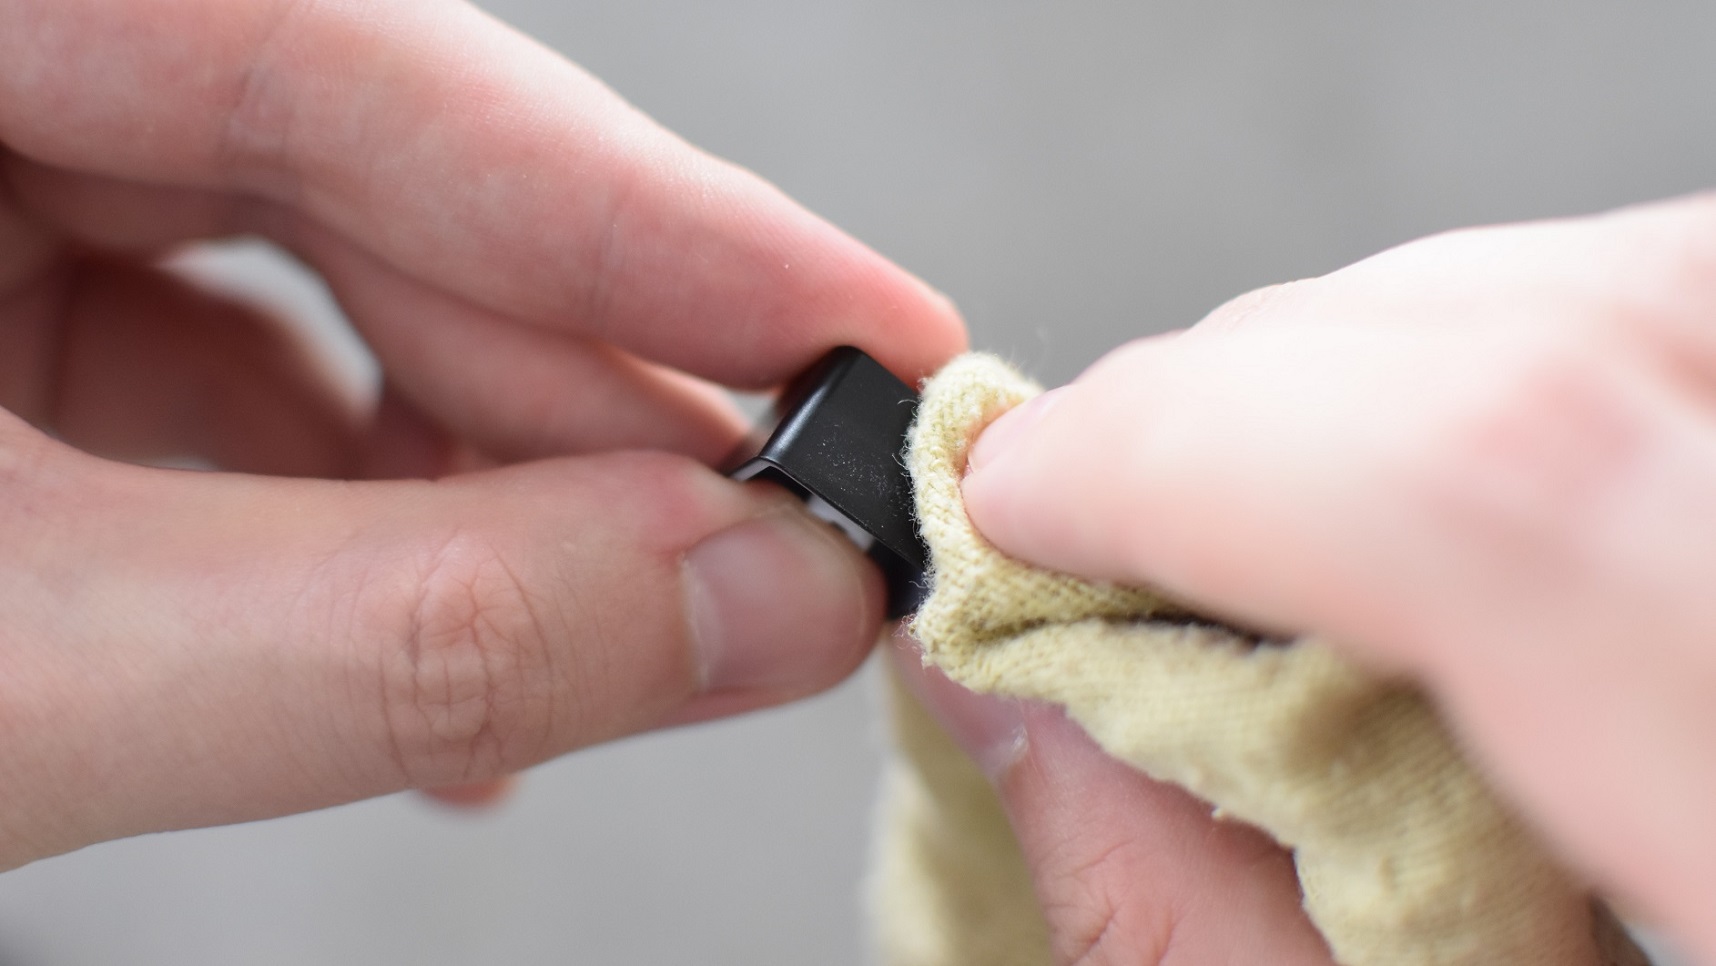
The classic, cupboard-under-the-sink-specification cloth is as valuable for cleaning your keyboard as it is for the rest of your PC and peripherals. Even completely dry, repeated rubbing should be enough to clean off that nasty matte skin layer that can form on the keycaps or base after a few months of use. For stubborn stains, apply a tiny touch of multi-surface polish to the cloth, work it onto the dirty parts of the keyboard, then rub with a dry section of cloth until everything’s gleaming again. That about covers it for a basic spruce up, but if you can remove your keycaps, it’s better to take them off and give your keyboard a proper deep clean. Removing the keys will give you far greater access to the filthiest part of the board, the space betwixt keycap and chassis, and makes it easier – if more time-consuming- to clean and polish the tricky sides of each keycap.
- Remove the keycaps
On most mechanical keyboards, you can remove each keycap – including the big ones like the spacebar and Enter key – by pulling them towards you with your fingers. If you want to go easier on your delicate little fingies, you could alternatively use a dedicated keypuller; these are available online but often come included in the box with new boards. Before starting, however, take a photo of your keyboard or find an image of the model online; this can help you reinstall them in the correct place later. Once all the keys are off, you can use compressed air, your lungs, your brush or a dry cloth to get rid of all the crumbs and hair underneath. This is the one area in which I actually like using compressed air, because there are a lot of sharp corners on the switches to catch a cloth on, but it’s still worth going over with a solid cleaning tool to wipe away every last bit of dirt.
- Give your keycaps a bath
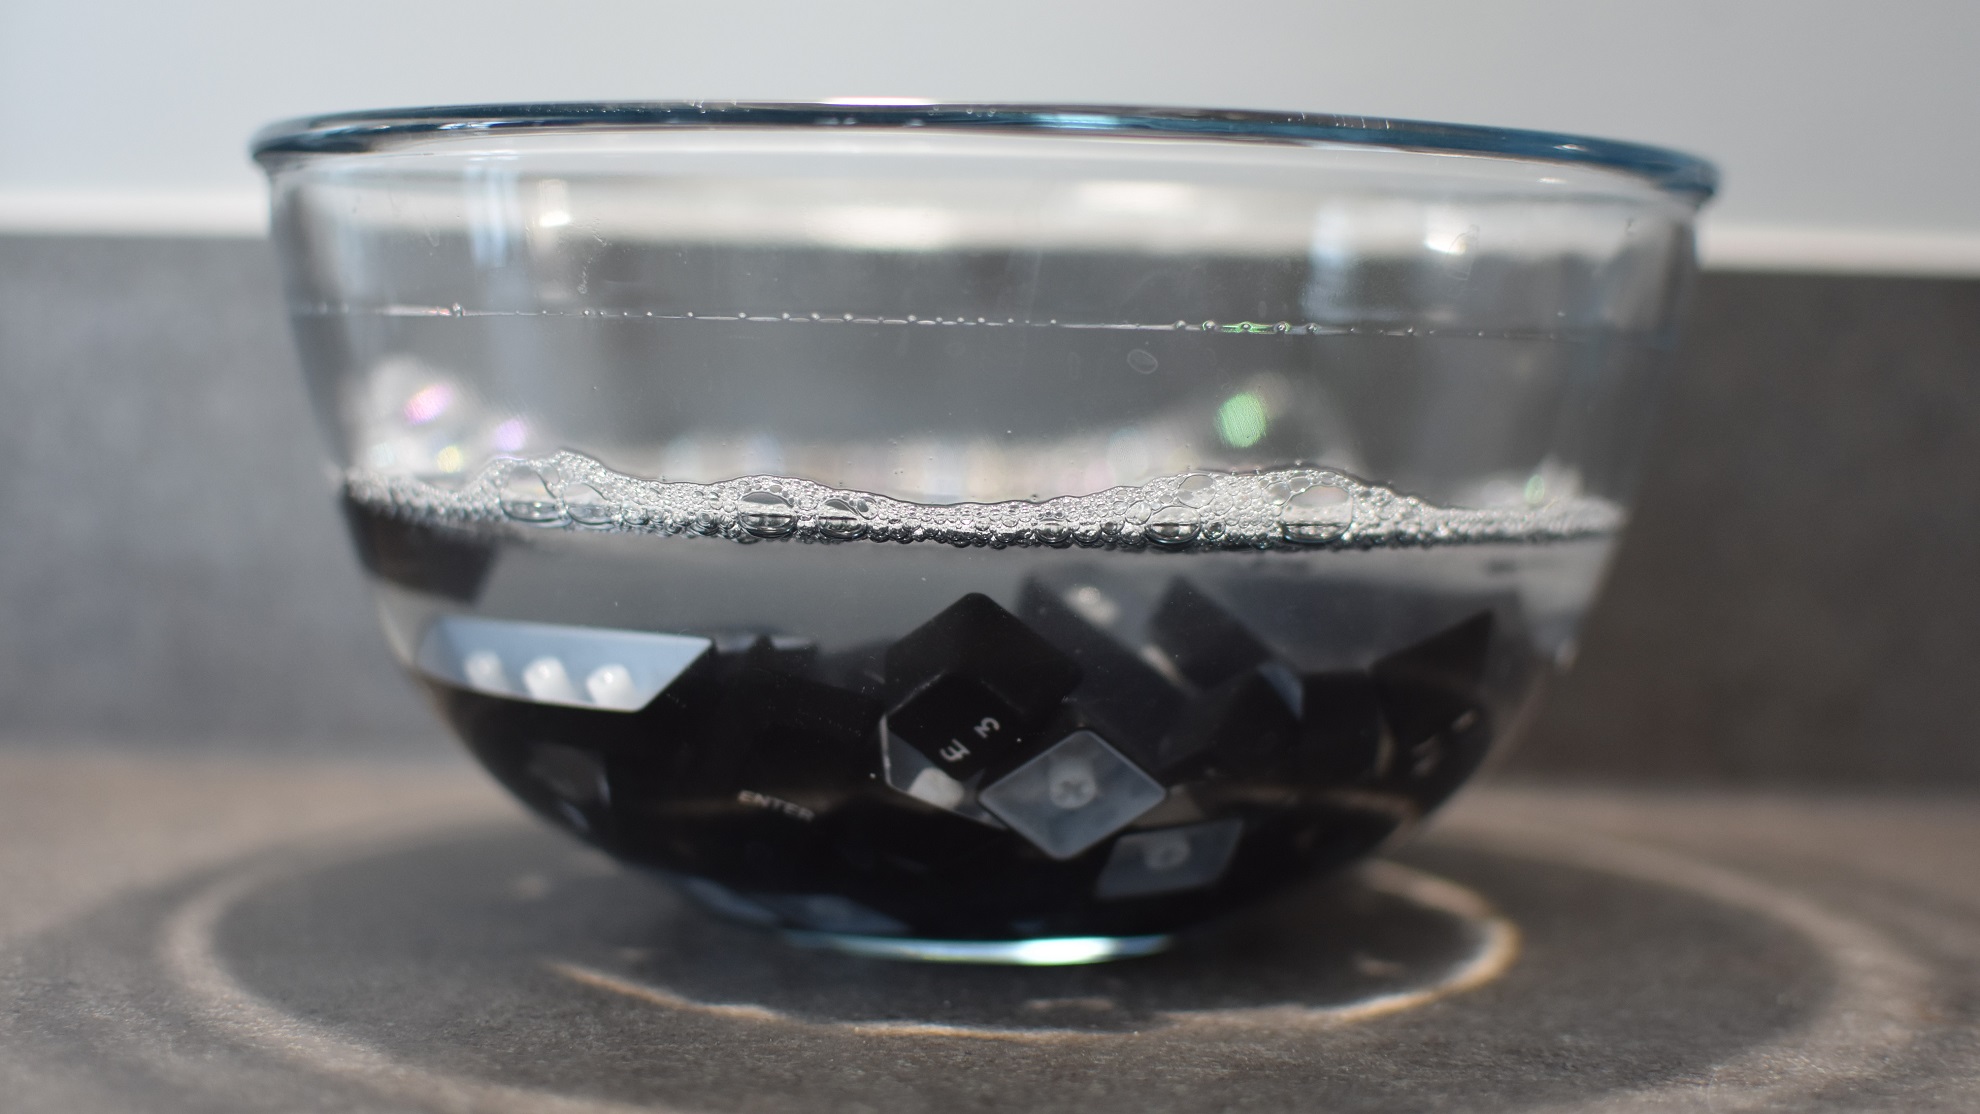
If you want to get really serious about cleaning your keyboard, you could dump all the removed keycaps into soapy water before re-attaching them. This is less bonkers than it looks: it both disinfects the keycaps and softens any of that lovely skin layer you may have left on them. There are no electronics in the keycaps, so just bung them in the water for a few minutes, then leave them on a towel of some kitchen roll to dry completely. If a keycap is really mucky, you may need to give it a quick wipe with a dry cloth before re-attaching, but it’s easier to polish a ‘cap when it’s not stuck to the keyboard. Stick them all back on, consulting your reference photo for placement correctness, and there you have it: one significantly less disgusting keyboard. Graham will be pleased.
